


Email marketing remains a vital part of any successful marketing plan. Adding an email marketing platform to your site can enable your customers to sign up for a VIP list, receive freebies, and more! Today, I’ll be walking you through how to use Showit and Flodesk together.
Want to try it out? Get 25% off your first year of Flodesk here!
Why use Flodesk?
Creating and Embedding an Opt-In Form
Sending Emails
Why use Flodesk?
Flodesk is simple and easy to use, making it the perfect choice to get started with email marketing. You can use a platform like Flodesk to send freebies to site visitors, create email sequences for sales and launches, send newsletters to your subscribers, and more. If you haven’t already started building an email list for your business, now is the perfect time to start!
One of the best ways to get subscribers to sign up for your email list is to entice them with a freebie. Freebies give customers a sneak peek of how awesome it is to work with you, ultimately helping you convert your email subscribers to paying customers. Freebies can be checklists, PDF guides, video trainings, and more!
Once subscribers have opted into your list, you can continue to engage them by sending out newsletters and other content. Stay top of mind with your customer base by sending business news and updates, VIP deals, previews, tips, and more! Keeping your customers in the loop will assist you in building a community and driving engagement.
I often have clients ask me to set up an email opt-in collection through Showit. Showit is actually NOT an ideal platform to collect subscriber emails. This is where you will need to use a platform like Flodesk. You will actually create these forms in your email marketing platform, and then we will embed them on your Showit site.
Creating and Embedding an Opt-In Form
Creating an email opt-in on Flodesk is super simple! Just follow the steps below to create an opt-in form for your website:
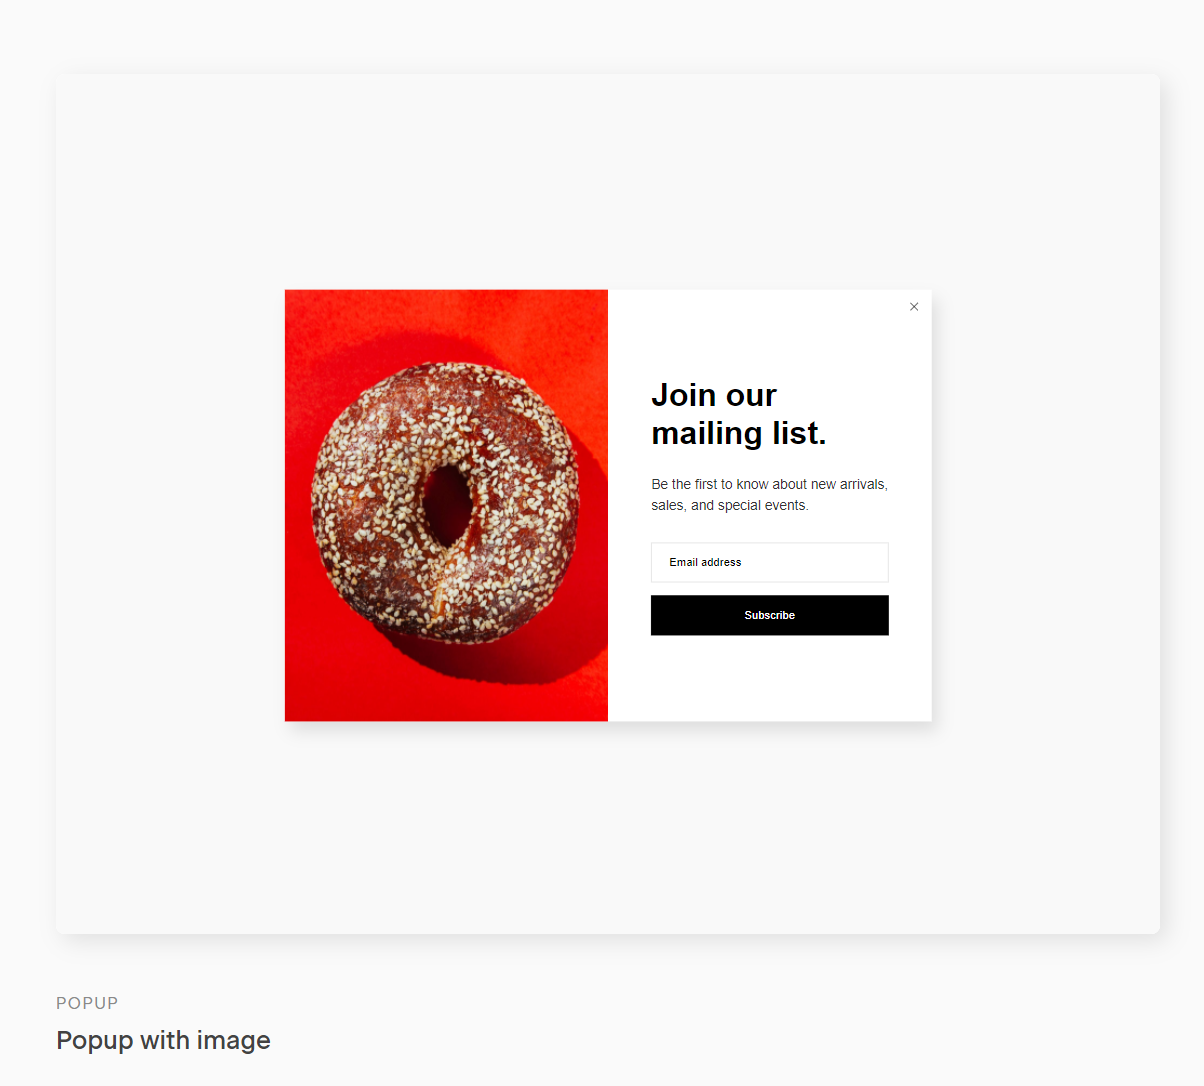
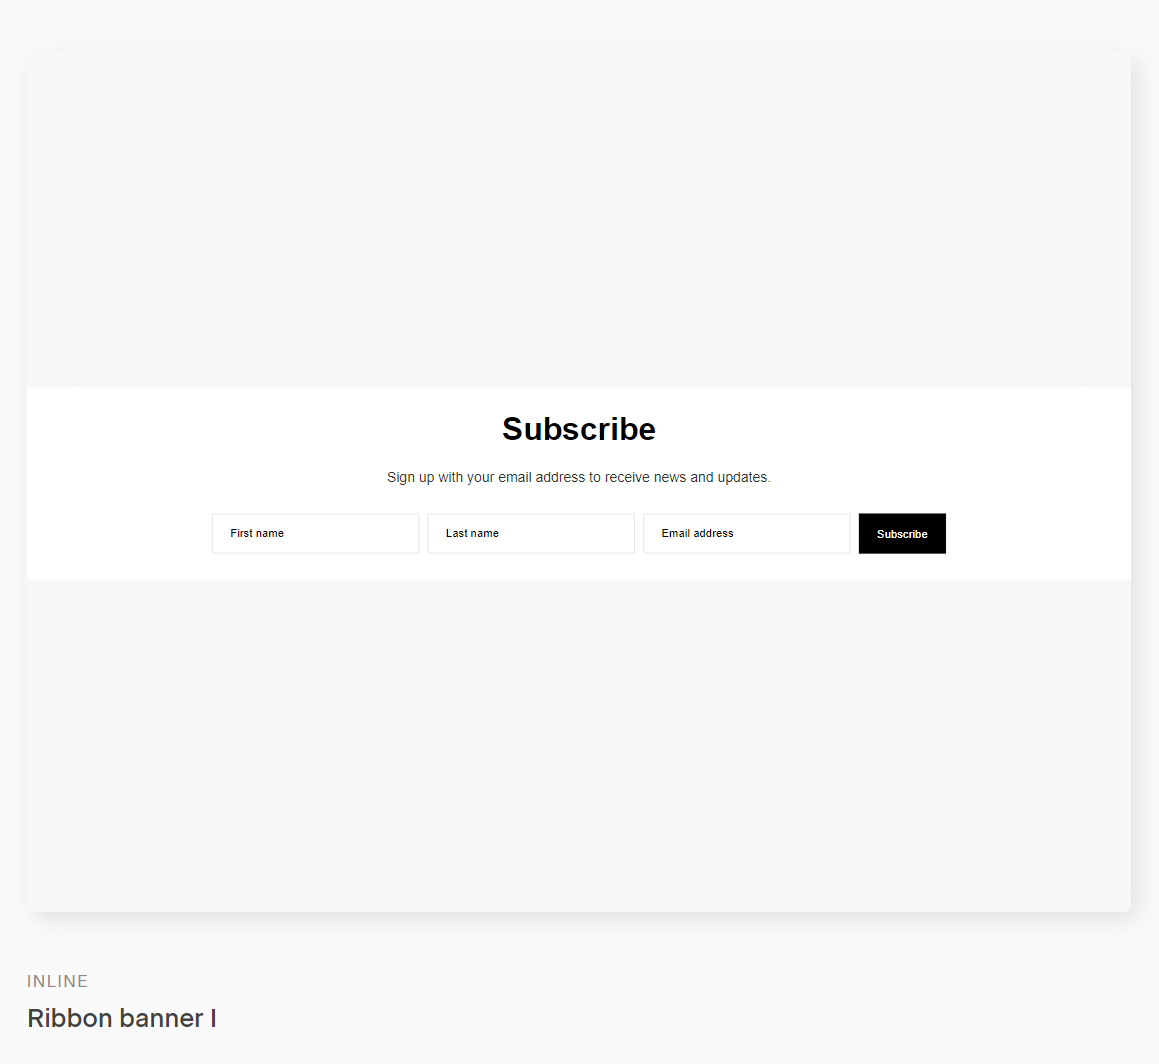
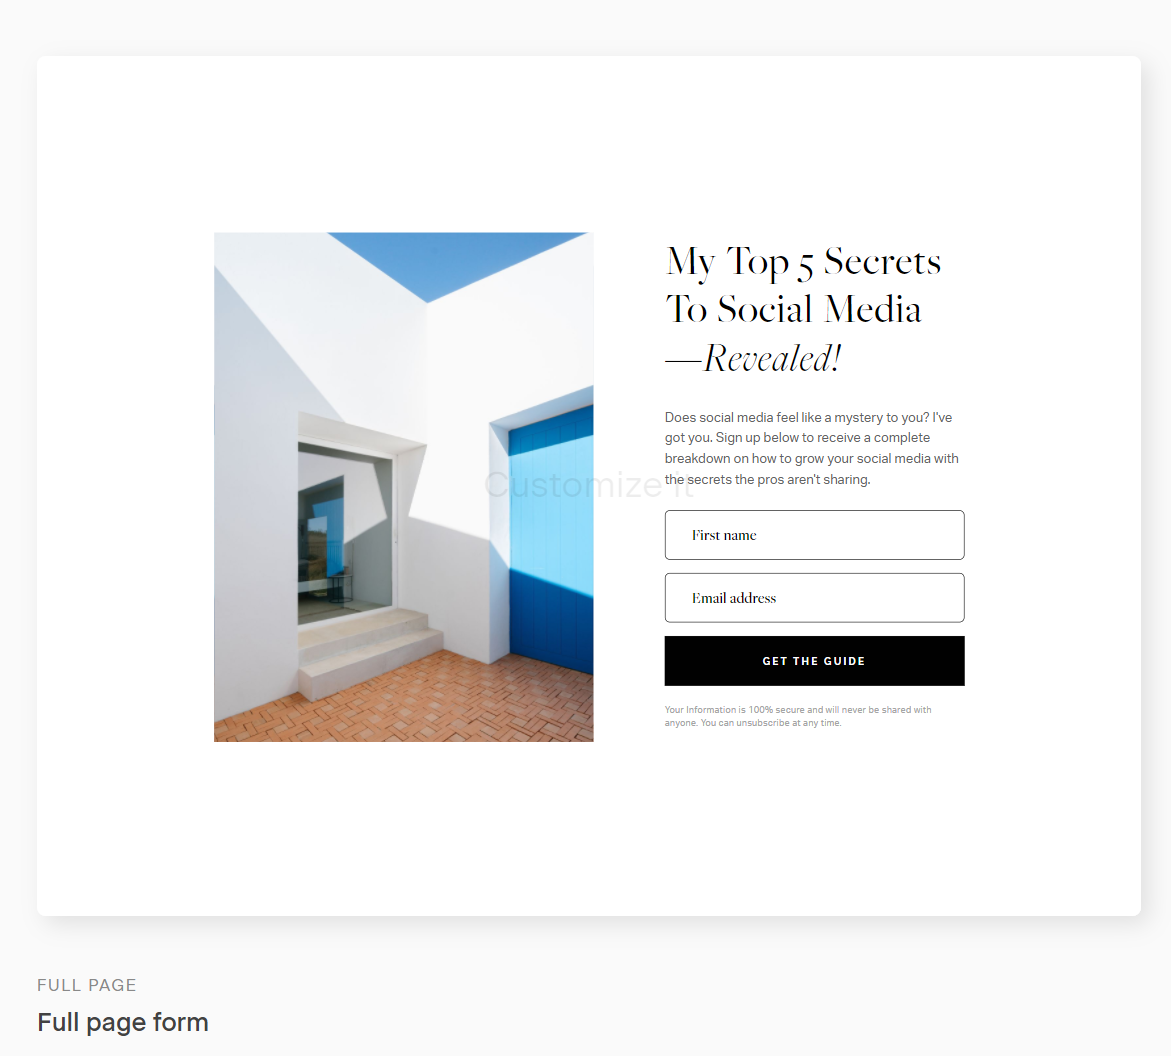
- Create a form: This form, where people sign up for your freebie or VIP email list, will later be embedded onto your site. Here, you can choose the type of form you want on your site- a pop-up, an inline, or a full-page form. Typically when we are embedding forms on your Showit site, we will be using inline forms.
- A pop-up form: this form will appear on the page as the user scrolls.
- An inline form is embedded into your site and appears as a natural, built-in part of your page, displayed at all times. You can add inline forms to your pages, blog posts, sidebars, or footers.
- A full-page form works great for landing pages.
- A pop-up form: this form will appear on the page as the user scrolls.
- Create a segment and add it to your form. A segment is essentially your subscriber list for a certain workflow. Everyone who clicks on the form from your site will be added to this designated segment.
- For a freebie, I like to name the segment a shorthand of the PDF/tool I am providing. This will help you down the line once you have multiple freebies or email lists. You can also add people to multiple segments!
- Time for the fun part- designing your form! You can add a photo or keep it simple with just text.
- The final step in creating your form is embedding it onto your Showit site! Don’t let the word “code” scare you- all you have to do is copy and paste! As you finalize your form, Flodesk will direct you to the publishing page.
- First, copy the header code and open your Showit account. Go to the Advanced Settings for the page you’d like the opt-in form to be displayed, and paste the header code into the Custom Head HTML section.
- For an inline form, you’re going to repeat this process with the inline code. First, copy the inline code from Flodesk. Now, head to your Showit object menu and add the Embed Code widget. Then, paste your code into the Custom Code box under the Embed Info panel.
That’s it! You have embedded the form onto your Showit site and can begin adding subscribers to your segments.
Sending Emails
Now that you have a form on your site, let’s get started on sending emails to your new subscribers.
Sending out your freebie:
- Create an email that will automatically send the freebie to your new subscribers. To do this, head to the Emails tab and click “new email.” In this email, be sure to attach the freebie and welcome your new subscribers to your brand.
- Create your workflow– the tool you use to build your email sequence. If you’re not sure where to start, Flodesk has several templates you can choose from, based on your goal for the email sequence. You can also start from scratch, customizing your emails to match your brand’s style and personality.
- To ensure that this email is sent to new subscribers as soon as they fill out the form on your site, set your workflow to begin when a subscriber is added to the segment (aka when they fill out your form!)
- Add the email you created in step one to your workflow.
Ta-da! Now when someone uses that form on your site, they will receive the email you just crafted in your Flodesk workflow.
Sending out emails to your list:
If you want to send an email to your entire list, like a newsletter, you can easily do so with the following steps:
- When you are ready to send an email out to this segment, just head to “new email”, where you will be given the option to either start from scratch or use a Flodesk template.
- Design your email! I recommend including GIFs and images to grab the attention of your subscribers.
- Choose the segment you want this email sent to. Simply select the segment you created earlier for your VIP list.
- Review your email and send!
In Conclusion
Now that you understand the awesome things you can do with Flodesk and Showit, it’s time to get started on creating your forms and drafting those emails. You got this! And, don’t forget you can get 25% off your first year of Flodesk here: Get 25% off your first year of Flodesk
Hi Alex!
Is it possible to have multiple ways to gather emails on showit through flodesk? If so, how do I do that?
I’ve tried to embed a newsletter pop-op, a page for a newsletter sign-ups, and a free pdf to gather emails, but it didn’t seem like showit could embed all those codes.
Any tips?
– Anastasiya T.
Hi Anastasiya! Yes, you can gather emails multiple ways using Flodesk on your Showit site. I recommend using inline codes, which means you will out the header code under “Advanced Settings > Custom Head HTML” for the page, and then use an embed code widget to add the inline code.
That’s wonderful advice, thank you. Do you have an example of how to put multiple inline codes so they all function at the same time?
For example, do I need to do a double-space between each code?
-Anastasiya
I like press “return” twice in between them so that there is a space between each code – just so that when I go back I can easily see where one code ends and the next one starts if I ever need to edit them!